Images
How we export images
Exporting images for our products or platforms like shopware.com requires special attention to detail. This guide outlines the process for exporting images and optimizing them to meet Shopware's standards.
Export settings
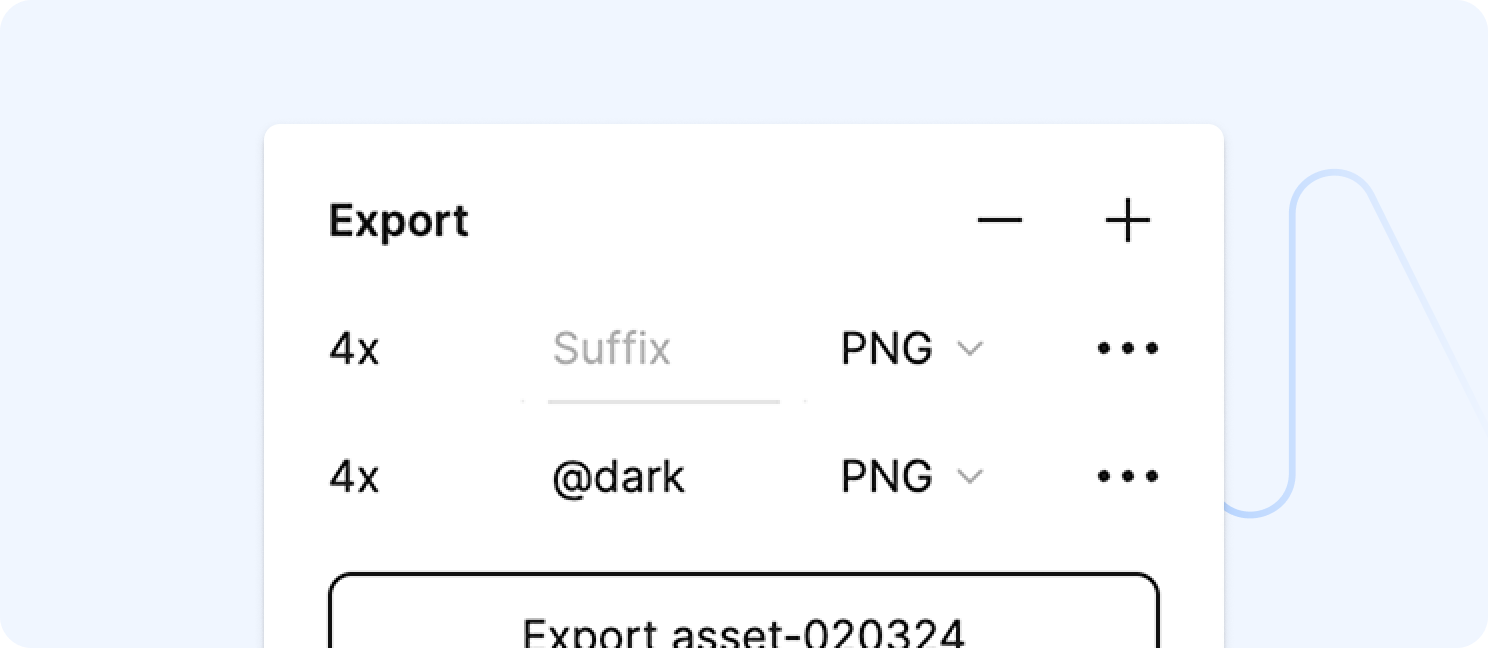
We export all vectors at 4x, resulting in 4k resolution. For some of our platforms and products, we also export adjusted darkmode assets and append the suffix @dark to the filename.
Export for motion
For TV, video content and slide decks we export assets in 8x (8k resolution).
Optimise assets
To optimise assets for our products and platforms we aim to reduce file size while preserving at least 90%+ of the original quality.
To add the "Shopware-look" to assets, open your exported assets in Photoshop.
Smart object
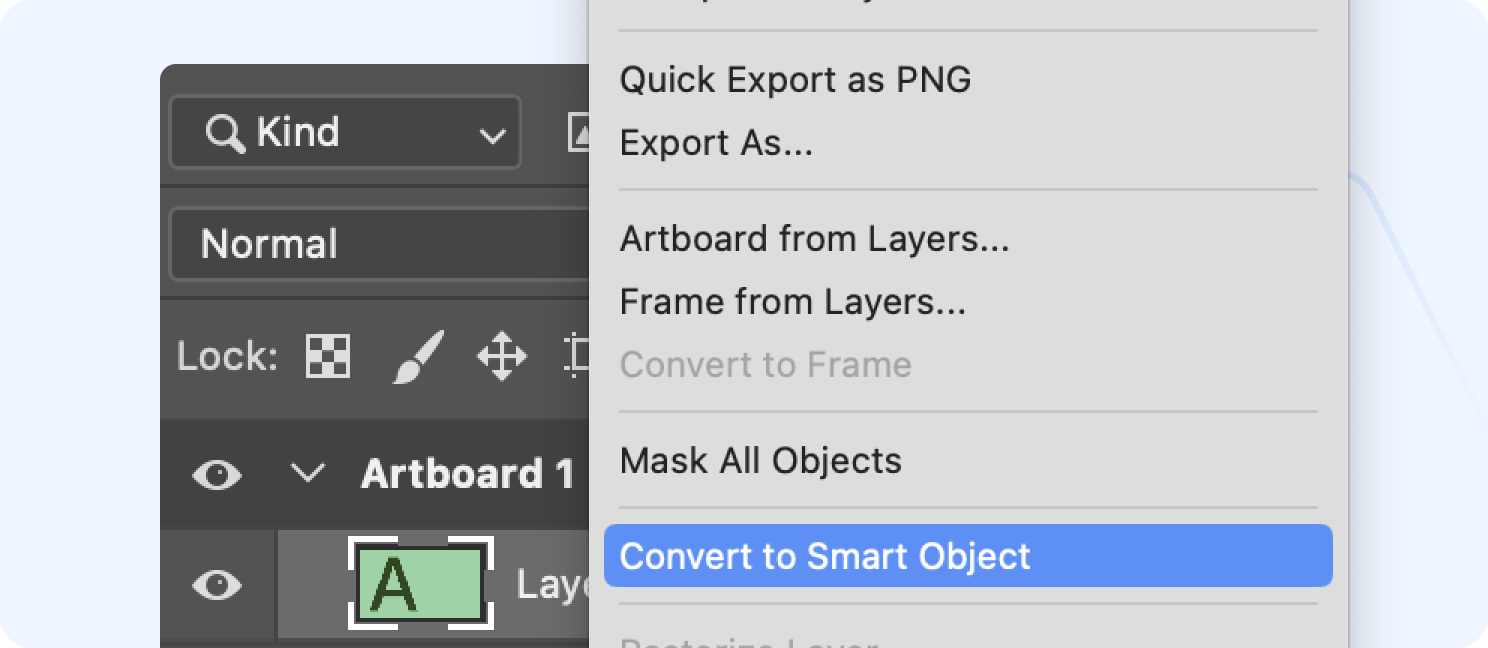
Through the Layers panel, convert your asset into a Smart Object. This step is crucial for preserving quality during further modifications.
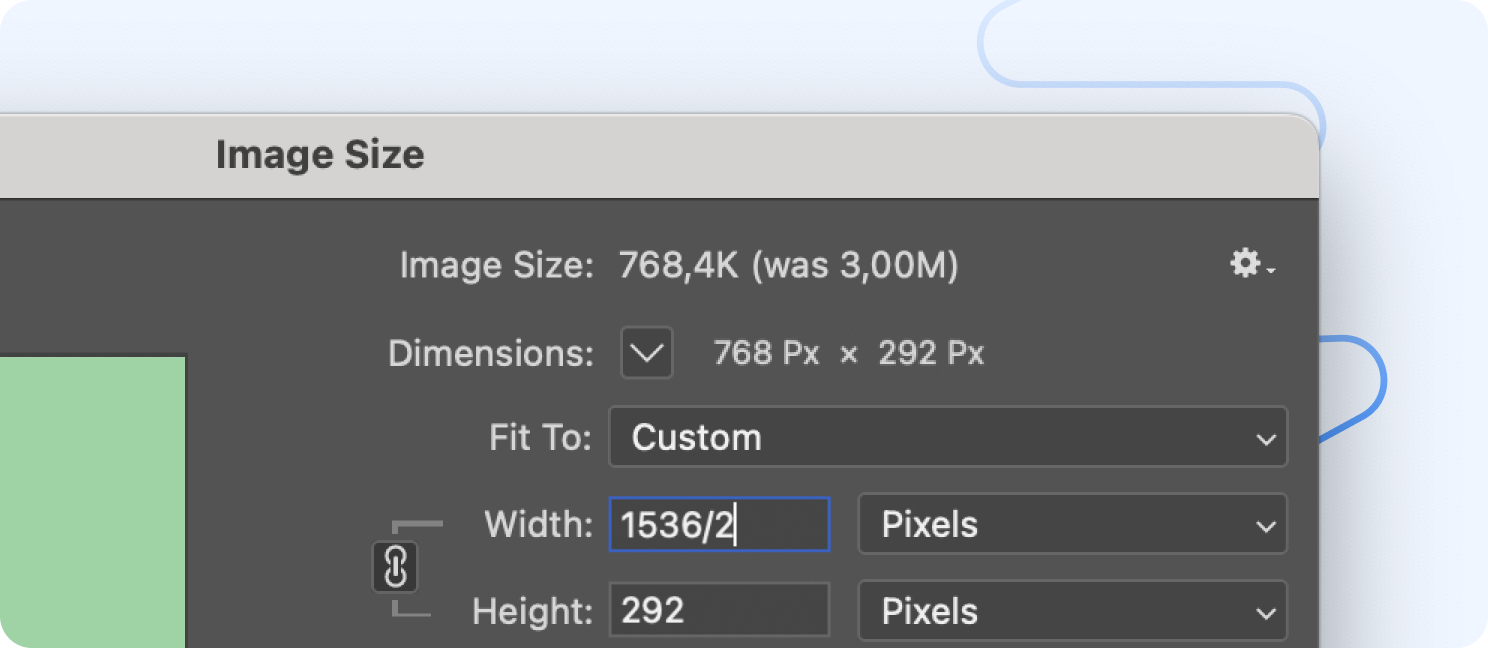
Resize
Change the image size and use /2. Open this panel with CMD + Option + I on MacOS.
Higher resolution
If your asset was exported in 8x, resize by /4 in Photoshop.
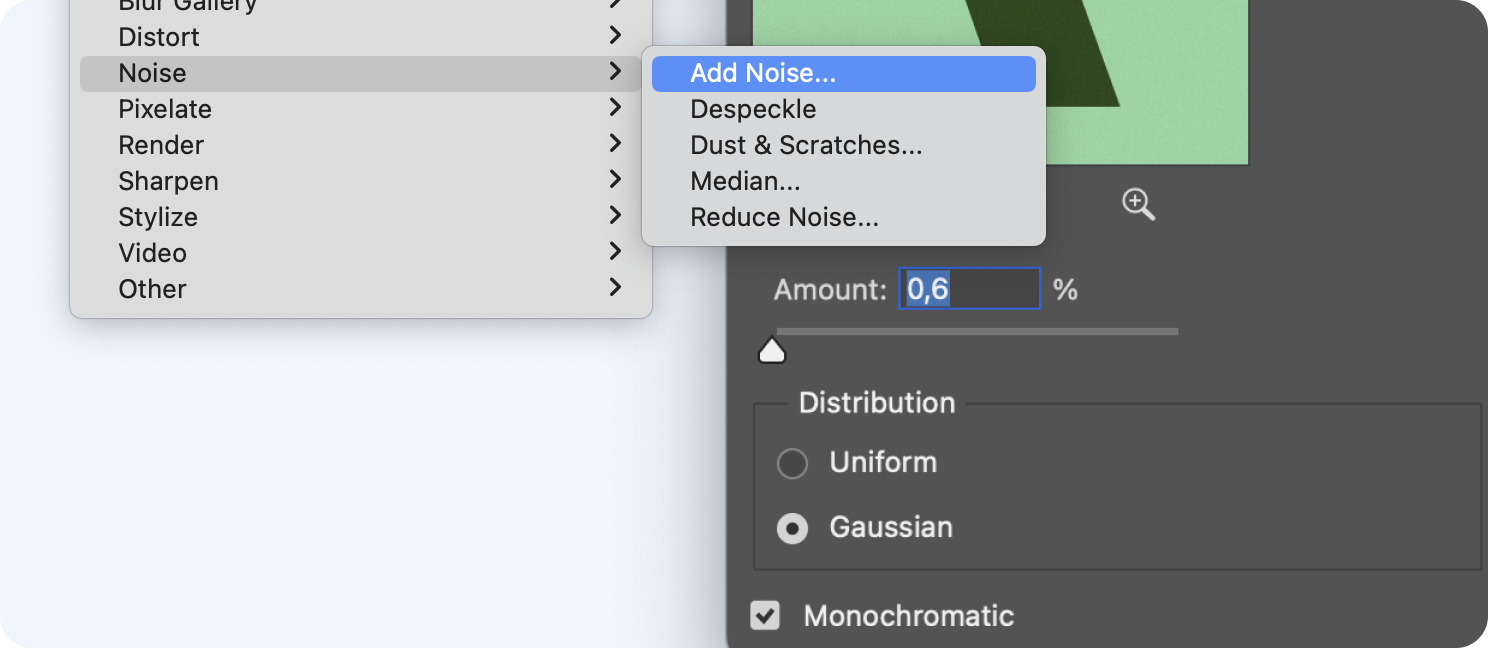
Add noise ✨
Open Filter, and add Noise. Ensure you select Gaussian and Monochromatic. At Shopware, we add 0,6 noise.
Noise
Adding noise to assets makes them look sharp and clear and adds a subtle haptic effect, as we aim for a premium vibe.
